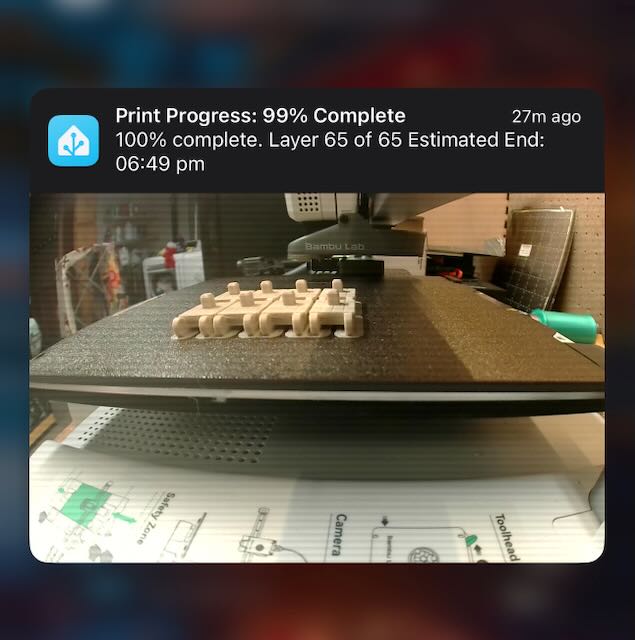
I’m one of those people who keeps opening the Bambu Handy app to check if my print has failed—whether it’s falling off the bed, breaking, or experiencing a layer shift. It always takes forever for the camera in the app to load. As a huge user of Home Assistant, I decided it was time to create an automation that sends me a still image from the camera at layer 3, 50%, 75%, and 99% progress.

It’s simple but has everything I need: the current layer, estimated completion time, and, of course, the photo. I figured others might benefit from this, so I documented the process.
Initial Setup
Before we get started, I am assuming a few things:
- You have Home Assistant up and running and accessible externally using Cloudflare, Casa, etc.
- You have the Bambu Labs Add-on installed, configured, and running.
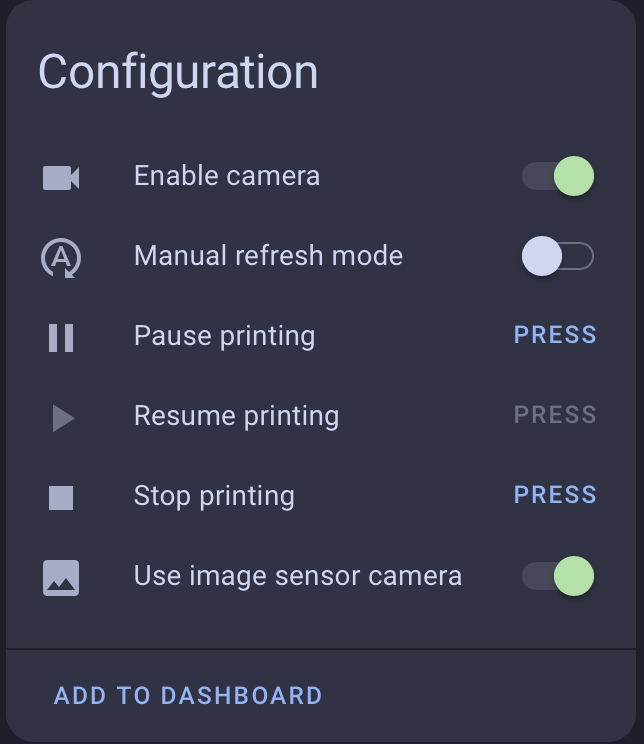
- You have the “Use image sensor camera” enabled for your printer.

Automation Configuration
Assuming this is all set up, go to Home Assistant > Settings > Automations, and create a new automation. Click the three dots in the top right corner, select “Edit in YAML,” and paste the following code:
1 | alias: P1S Print Screenshot |
Variables to Update:
- Replace YOURPRINTERNAME with your printer’s name. If you’re unsure, open the Bambu Lab add-on and find the name in the top left of the configuration screen.
- Replace YOURPHONESNAMERUNNINGTHEAPP with the name of your iPhone as seen by Home Assistant. This is typically the name listed in iOS Settings > About, but it could differ if you’ve renamed it.
Testing:
To test the setup, ensure an active print is running. You can manually trigger the automation by clicking the three dots in the top right corner of the automation editor and selecting “Run Actions”. If everything is configured correctly, a notification should arrive.
Wrap Up
That’s all there is to it! If desired, you could extend this automation to send alerts for errors detected by the AMS, though the Handy app is already quite effective at handling those. For multiple printers, simply copy and modify the YAML for each one.
Unfortunately, YAML isn’t the best for handling variables or complex actions, but it gets the job done here.
As always if you have any questions hit me up on Blue Sky and I will do my best to answer any questions.