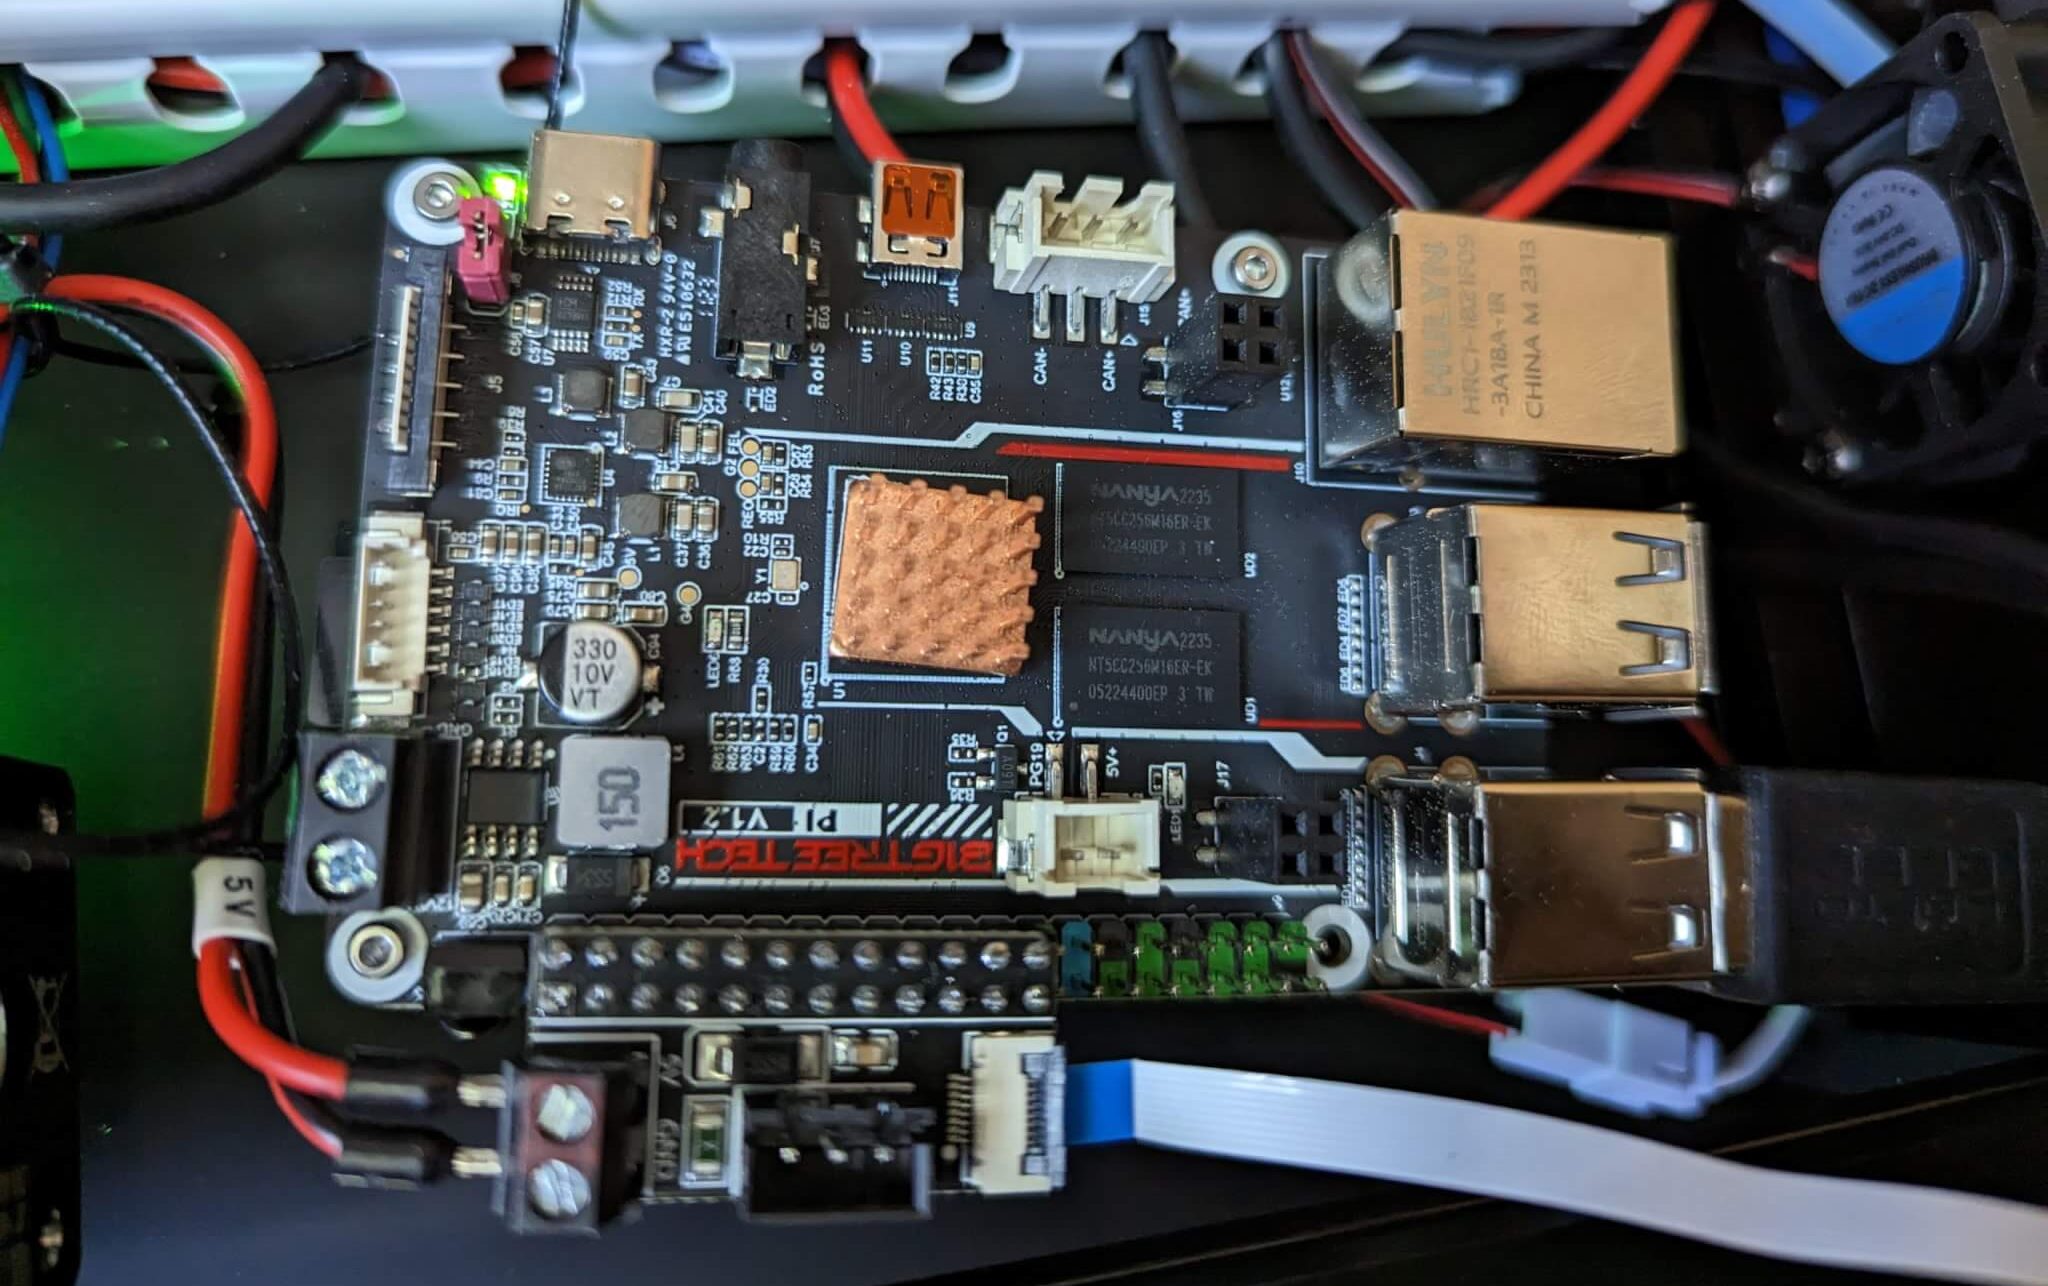
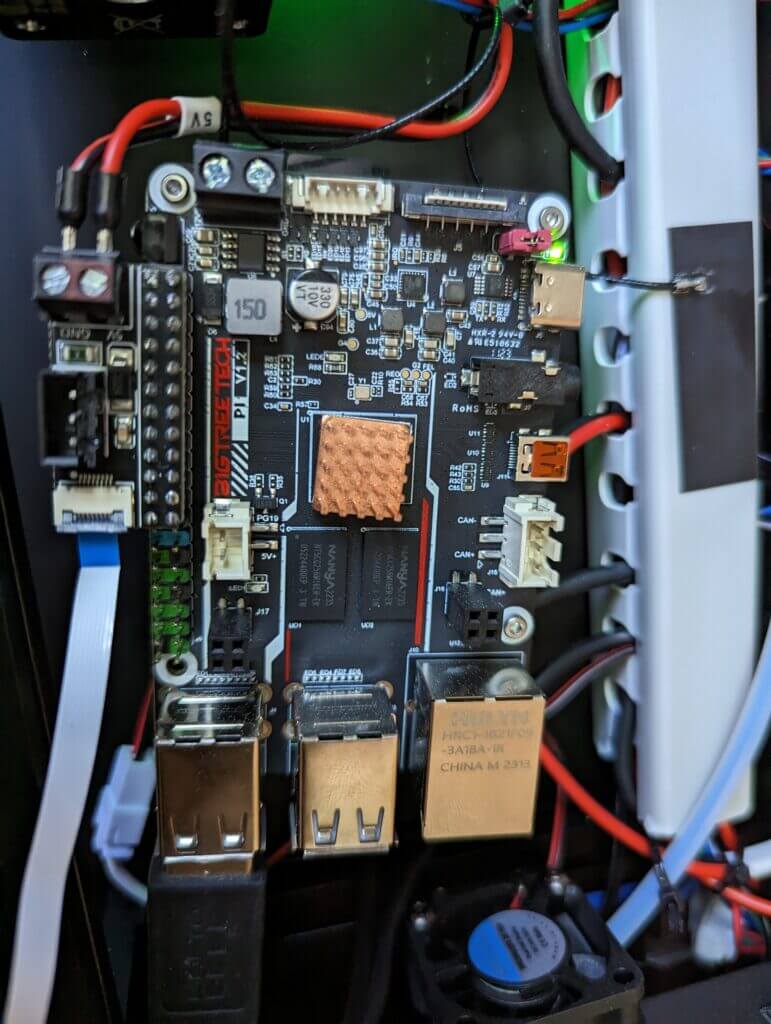
With the shortage of Raspberry Pi’s still going on I picked up a BTT Pi 1.2 instead to run Klipper for me on my 0.2 build. The initial install went smoothly and I was up and printing in no time however when I connected the ADXL cable everything went downhill until I found the proper pin mapping.
TL;DR:
Just use the following code in your printer.cfg to be able to run input shaping on your BTT Pi
[mcu rpi]
serial: /tmp/klipper_host_mcu

[adxl345]
cs_pin: rpi:gpiochip0/gpio204
#cs_pin: rpi:gpiochip0/gpio74
spi_bus: spidev1.1


[resonance_tester]
accel_chip: adxl345
probe_points:
 59, 59, 20
Long(ish) Version
Hardware
If you are new to ribbon cables like I am be sure to have the blue side facing you or AWAY from both the Toolhead Picobilical and the Pi Hat. There is a little pull out lever that should allow you to easily put the the ribbon cable in.
OS Updates
You will need to activate SPI in the BTT Pi 1.2 config file and restart the printer completely in order to enable Input Shaping
The lines to add are:
overlays=spi-spidev
param_spidev_spi_bus=1
param_spidev_spi_cs=1
param_spidev_max_freq=1000000
To the following file: /boot/BoardEnv.txt
Klipper Config
Simply add the code above, restart and run a `query_accelerometer` to which you should get some values and from there you can just follow the bog standard Klipper instructions.
I know the group of people who build their own Voron and use a BTT Pi are very small but I hope this saves them a few hours of poking around.