In the last few months, I’ve been on a quest to find the best and most user friendly slicer software after becoming dissatisfied with Cura. I experimented with Prusa Slicer, Super Slicer, and OrcaSlicer, and after careful consideration, I have finally settled on OrcaSlicer as my primary slicer.
Why OrcaSlicer?
OrcaSlicer won me over for several reasons. Firstly, the developer is actively involved and appears to be genuinely dedicated to the slicer’s improvement. Secondly, OrcaSlicer is built upon the solid foundations of both Prusa and Bambu slicers, giving it a reliable pedigree. Most importantly, it strikes the right balance between ease of use and configurability, making it a versatile slicer that suits both beginners and advanced users alike. Setting up OrcaSlicer was easier than most, and I had it up and running in just a few steps.
The Profile
In my pursuit of higher print quality, I’ve tailored this profile to work with a 0.6 CHT type nozzle. It may not be suitable for everyone, but it assumes the following:
- Your Ender 3 S1 has an upgraded cooling system over the stock configuration.
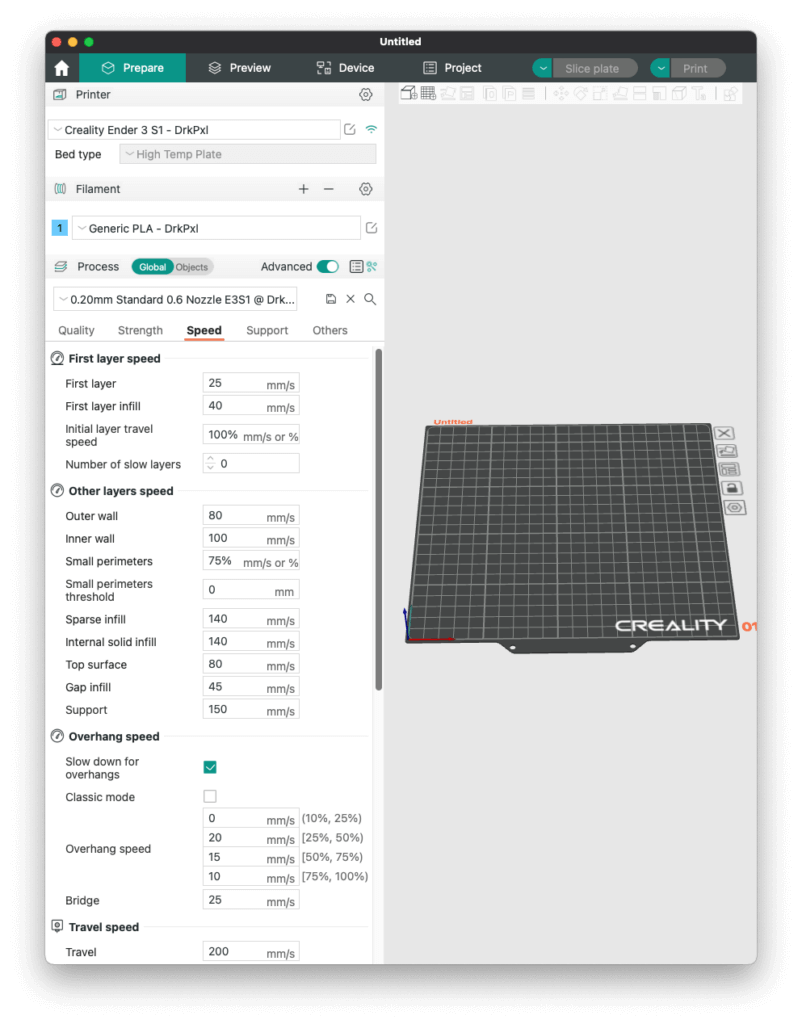
- You have a nozzle/hotend capable of handling more flow than the stock version. If not, don’t worry, as you can easily adjust this in OrcaSlicer under Filament Settings > Max Volumetric Speed. The stock nozzle can typically handle 10 mm/s safely, while 12 units might be possible with a lower-temperature filament.
- Ideally, you’ve fine-tuned pressure advance/input shaping for your printer. While not critical, this refinement can significantly impact print quality.
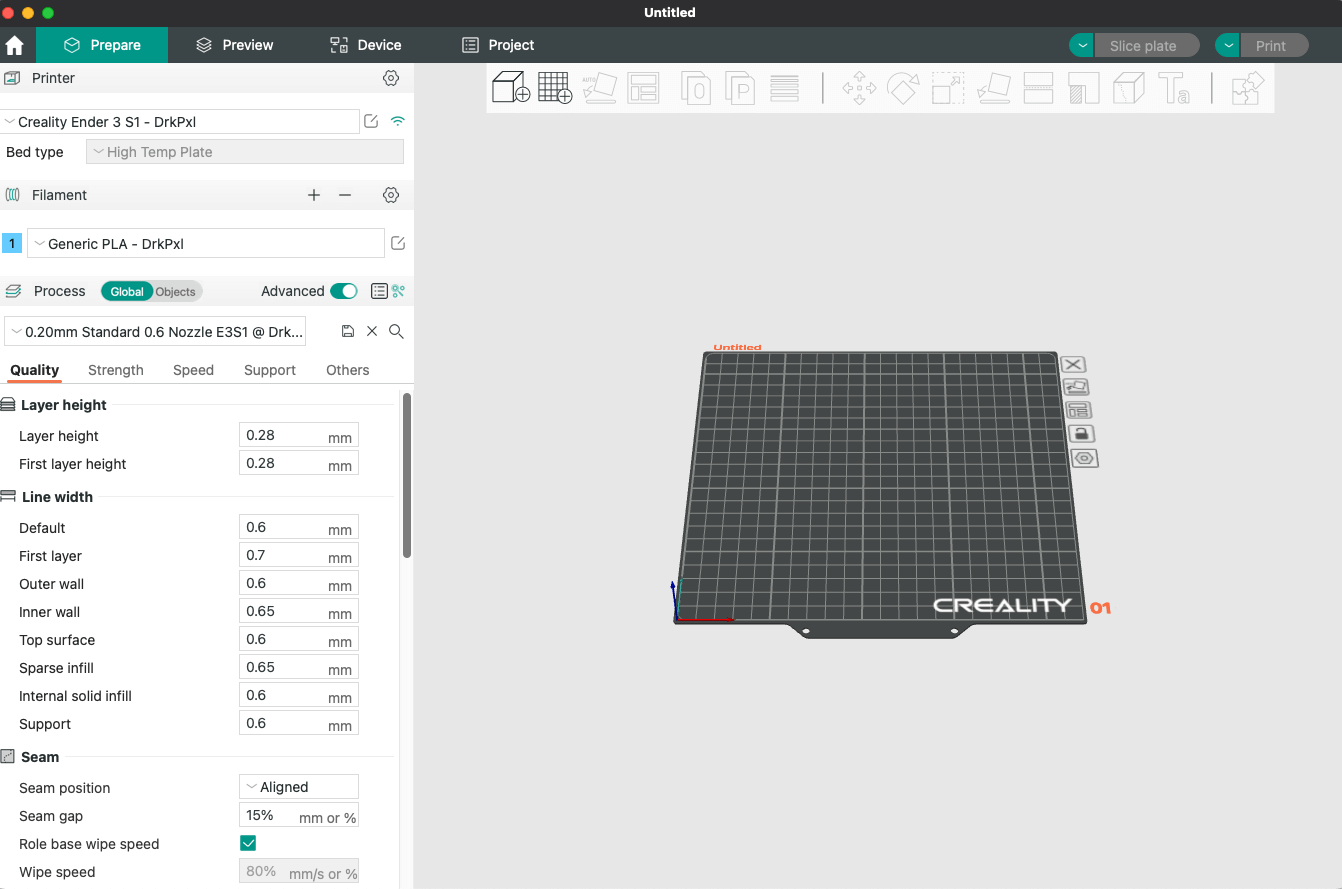
- You are happy to print with a .24 or .28 layer height.
Download
If you’re eager to try out my OrcaSlicer profile for the Ender 3 S1, you can download it here:
Remember to unzip the files and then proceed with the following steps.
Importing the Profile
- In OrcaSlicer, navigate to File > Import > Import Configs.
- Select the new profiles for your printer, filament, and nozzle.
- You’re now all set to start printing with the OrcaSlicer profile.
Other Notes
If you’ve previously used my profiles for Cura, you’ll notice that this OrcaSlicer profile is intentionally “slower.” This deliberate choice is due to my recent acquisition of a Voron printer, which has spoiled me with its exceptional print quality. My goal with this profile was to get closer to Voron’s level of quality without the hefty price tag. While my Voron still outperforms the Ender, I’ve seen a significant improvement over my Cura profiles. Besides, having a second printer has made me less concerned about printing speeds compared to before.
Conclusion
Making the switch to OrcaSlicer has undoubtedly been a huge quality of life improvement to my 3D printing journey. The flexibility and quality it offers have made my prints stand out. With the right tweaks and adjustments, I am confident that OrcaSlicer will continue to be an indispensable tool in my 3D printing arsenal. As I explore more materials and scenarios, I look forward to sharing additional profiles that cater to different needs.
Try out the profile for yourself and let me know what you think.