Since getting my Creality Ender 3 S1 I have really wanted to dial in the settings to get the maximum performance out of it because there is ALOT out there I want to print. Looking around online all the guides tell you to print at 25-55 mm/s which is painfully slow especially when Creality’s own site says it can print at 150 mm/s. While this profile won’t get you to 150 without a major quality loss it will get you close at 120 mm/s.
While these settings are specifically for a Ender 3 S1 I would expect them to work for anyone with a direct drive printer using PLA. If you are trying to print TPU with these settings they will likely not work. If you find success on a different printer, please let me know and I will update this post.
Before downloading and using this profile there are some key things you have to make sure you have setup.
- Your gantry is square. Everything is a perfect 90 degrees
- Your bed is clean, leveled, trammed, etc
- Your z-offset is right on the money
- (optional) Upgrade firmware to “professional, using this guide
To help verify your print is setup well I would do a bed calibration print like this. In order to really dial in all the print settings.
Once you are feeling good about your calibrations go ahead and download the profile.
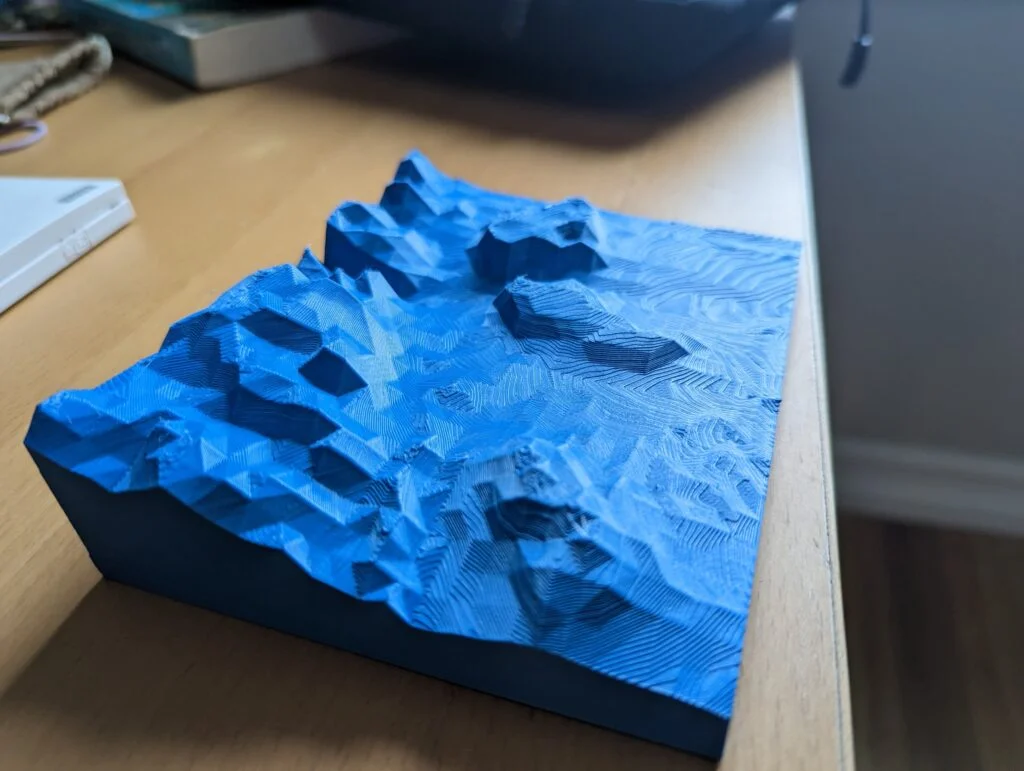
Below are some sample prints from it, as well as links to other Reddit users who have used it. As you can see, its maintains a great quality and is FAST. Almost 2x faster than other recommendations.
The second is my more experimental profile (hence the Google drive link). It is where I continue to push the limits and experiment with settings to continue to push performance while maintain print quality. It’s a fun profile to use, but perhaps SHOULDN’T be you primary profile.

Calibration cube and a very tiny unicorn game piece for my daughter

A 4in X 3in scale model of Mammoth Mountain in California
A dragon from another redditor
Another engineering part example
What Changed, Why is it so fast?
Honestly nothing here is rocket science, most website I believe just have you print slow because they believe most people don’t want to take the time or effort to dial in level, z-offset, etc, I however believe that time is better spent there as to save hours and hours on prints. I think most users who dial in their printer could just take the default profile from Cura, turn the speed up and print perfectly great prints. I have however made a few more adjustments that I think help. I’ll outline those changes here and why I made those changes
- Nozzle Temps – PLA generally has a wide range of print temps but most people say 200. I find that WAY to lower for my Ender. That may be good for other printers, or printers in enclosures but I have found the sweet spot for almost all PLAs are between 210-220. My profile’s generally will have between 210-215 by default and they always turn out good. That said when using a NEW PLA I always start out with a temperature tower.
- Initial Layer – Most videos and guides have suggested making the initial height bigger. I disagree. I think going smaller 0.16 on .2 profile, so the nozzle is even closer to the bed, and increasing line width to 115% gives me better bed adhesion. I also find that this tells me earlier on in the print if I am going to run into z-index issues and I am less likely to have the nozzle knock off the print
- Walls – I always do 3 line count. Why? A think wall means less infill. It means strong prints ( for models not mechanical parts) and print time savings.
- Wall Ordering – If the print doesn’t have any real overhangs I always go Outside to Inside. This means a more accurate print in terms of size and less stringing because the travel moves will happen from inside vs outside. I have found this makes the surface quite a bit better as well.
- Top and Bottom – I almost always use 5 layers. It hides any infill and creates a really strong print. Sometimes if I want to save time and using a dark PLA I will take the bottom down to 3, but usually I just leave it at 5.
- Infill – Because of the strong walls/top/bottom I use between 8-15% infill for anything that doesn’t have to be structural. If its structural usually 35% works. If the piece is just going to sit on a table I will use Lighting as my infill pattern as it REALLY saves time. If its gonna get some abuse I use “Cubic”. Gyroid is cool, but for PLA it doesn’t make sense and it really is violent for the printer.
- Combing – I have this set on, turned to all. It add’s more print time but really helps mitigate the stringing from the higher speed. This may be one you want to mess with to help me dial it in.
- Cooling – I like to have the fan down for the first 4 layers. It helps the curling up of edges when you have square prints. If you are printing something round you can likely just keep it to the first layer.
- Infill Travel Optimization – I haven’t seen much difference here, but doesn’t seem to hurt anything. As Cura updates I expect this to matter mroe
- Coasting – I have this off if you have corners in your print, off if you have circles. This is because I find with the speed and the sharp corners the coast around the corner won’t lay down enough filament and cause the edges of the print to come up. With something circular or really small this is less of an issue and you can turn it on. You are gonna have to use some of your gut here.
There is of course more changes in my profiles, but these are the major considerations made getting this profile to print so fast. If you have any questions or improvements you can make to these profiles please let me know! I’d love to keep improving this profile and making it something every one can share.